Add Case dialog box
This topic provides an overview of the Add Case dialog box and all the settings and buttons on it. However if you require step-by-step procedures on creating cases using the View i-cases screen refer to To create a new case.
This feature requires option E14 Sentinel. If you do not have this option this feature is not available.
The Add Case dialog box is opened from the Folder menu on the View i-cases screen. It allows you to create a case.
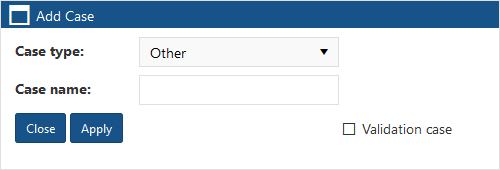
Select the type of case.
If required you can edit the case type at a later date using the Case properties dialog box.
It is recommended that you enter a name for the case so that the name means something to you, for example "Jewelry Store Robberies". However if you don't, OSS-ESPA will automatically create one which is titled using the format "Case <n>", where <n> is a number which increments each time a user on your OSS-ESPA account selects to automatically generate a case name. If required you can edit the case name at a later date using the Case properties dialog box.
Click to apply any changes you have made. The dialog box closes automatically.
Click to close the dialog box without making any changes and to return to the View i-cases screen.
Select if you want the case to be used to perform ELSUR record validation. When selected, a Validation settings button is displayed on the case's Manage case screen. Click to open the Validation settings screen which allows you to configure ELSUR record validation on the case. The validation is automatically performed at the frequency set by your administrator using Frequency. For further information refer to Validating ELSUR records.